
Enhance and Print Your Template Like a Pro!
In this blog, I will guide you on how to utilize this template to create your ideal invitation. I will walk you through the printing process, editing techniques, and even ways to customize it further to elevate it to the next level!
BUMBLE PAPERIE

I'm so thankful that you have downloaded one of my templates or are interested in them! I'm here to use my graphic design and my job at a print house to get you the best prints. Let's talk about how you can elevate your template and make it just what you want it to be!
Editing File
First, you should have received an email with a file. That file will contain your access link to begin editing your file. If not, you can always shoot me an email. Once you have accessed the template you can begin editing things like the text, colors and general design elements. Make sure you add in names, addresses, and change any wording that's not quite your style. Anything you can click into, typically you can edit. Things like background images aren't always editable.
File Prep
Once everything is the way you'd like, select file>download. Depending on whether or not this will be a digital invite or physical will determine your file size. If this will be a physical invitation choose pdf print, select CMYK for color profile. CMYK is an acronym for the colors used in printing (cyan, magenta, yellow and black). When you send this file to either your home printer or a printing store, CMYK will give you the better color output. Though it still may shift from what you see on your screen it will be the best match. If you're print the invite at home also select crop marks and bleed. This will give you a guide when you print them, so you know where to cute to make them even.
If you're doing a digital invite, I recommend using Png, or pdf standard. For this option the color process should be RGB (red,green,blue). Which are what screens use to display color. Canva's file size is typically fine for digital invites. As you don't want them to be so large they can't be sent.
Printing
Home Printing
Printing at home definitely saves money and time but depending on the printer can cause its own issues. First step, do a test print. See if your printer can handle the paper weight and design before you commit to printing at home. If the design looks good to go, your all set to do it again with the same settings and quantity number. If not, I've included some general trouble shooting for at home prints down below.
Print Shop
Now, print shops will typically give you their instructions as you upload your image. Whether that's file size, image quality, and set-up. Best advice I can give you is read the instructions well before you begin to upload your document. You should get a proof back from the shop, which is a preview of how the piece will print. Make sure you check everything. Spelling, are there funky borders, are images cut off etc. Then is the time to make adjustments. Once you sign off on proofs, that's that. Make sure everything is just how you want!
Trouble shooting Printer.
If your printer is a hard time with the paper weight, see if you can change the settings to recognize the weight of the paper. You may have to look up your printer models guide, or a video. Odd lines may mean your printers head/or nozzles are clogged with old ink or dust. In settings you should have a clean nozzle/head option. Ideally that would help clear any ink junk. If you have a print skewing to the side it could be the alignment is off, so you'll want to calibrate your printer.
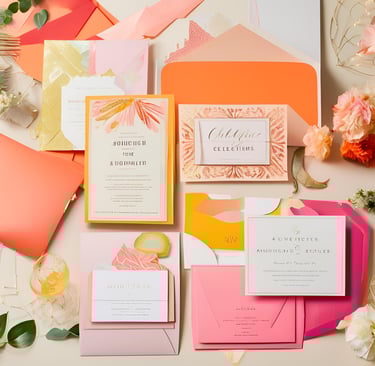
Inspiration
Creative content for home, lifestyle, and garden.
Explore
Connect
© 2024. All rights reserved.